How to Take a Passport Photo at Home (US 2x2 Guide)
Take a US passport photo at home with a phone: the 2x2 rules, light and pose, how to get a plain white background, cropping with the State Department tool and printing.

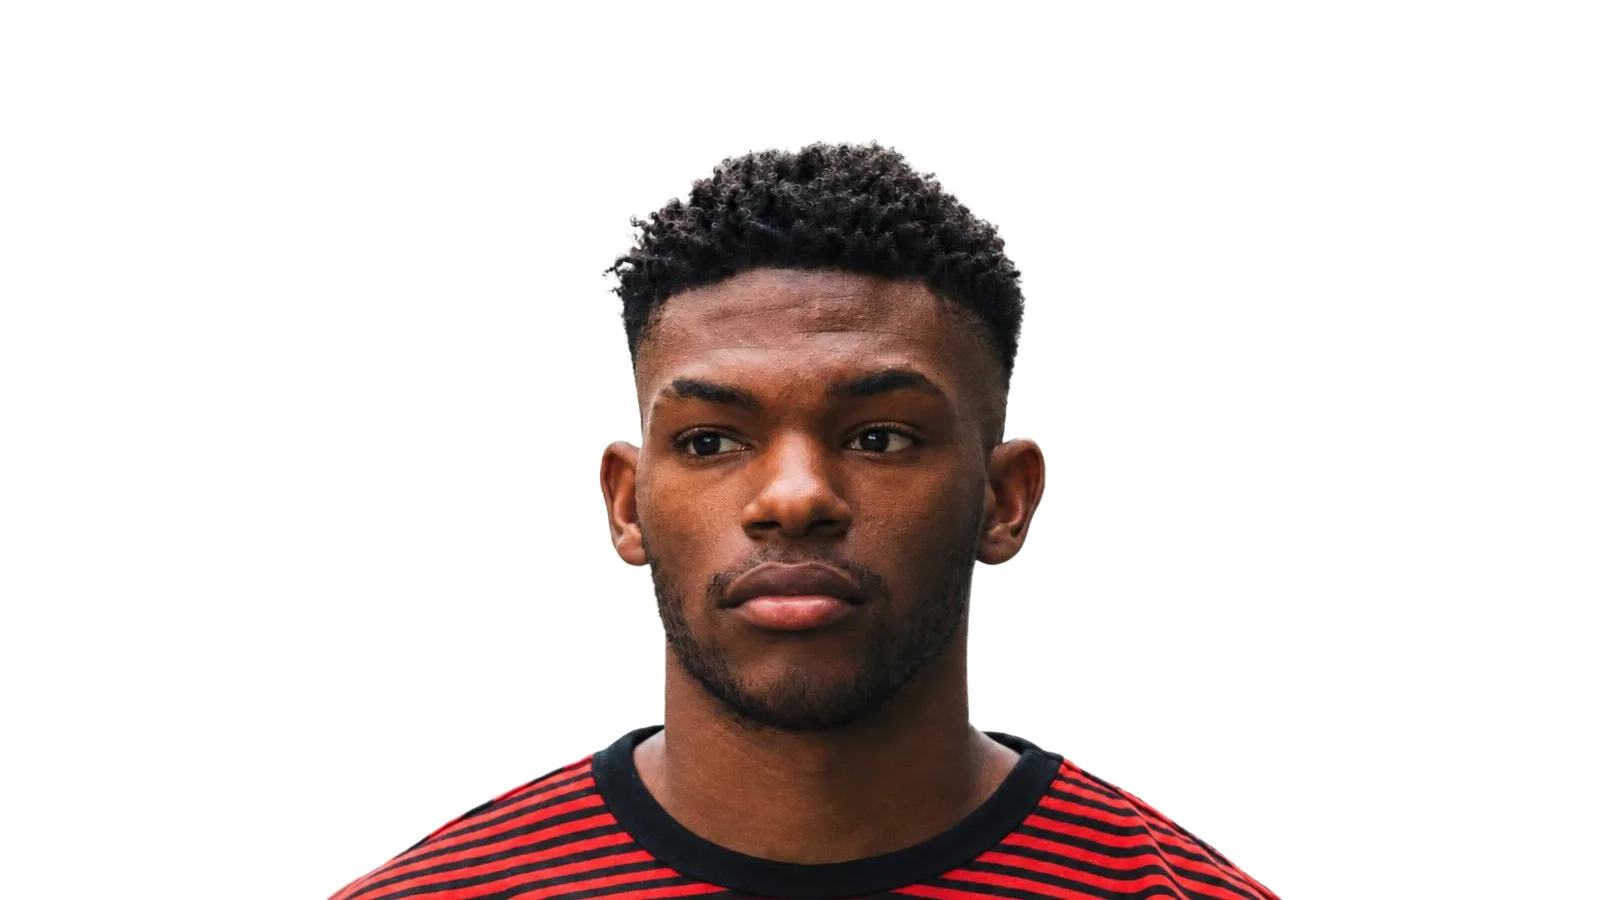
Want to fix your photo right away?Open Make Background White
You can take a US passport photo at home with a phone and a helper in about 15 minutes. The photo needs a plain white or off-white background, even light on your face, a straight-on pose and a final size of 2 x 2 inches. Shoot it, fix the background if your wall isn't plain white, crop it to size, then print it or upload it with an online renewal.
What a US passport photo needs
The U.S. Department of State lists these rules for passport photos:
- Size: 2 x 2 inches (51 x 51 mm). Your head, from the bottom of the chin to the top of the hair, is 1 to 1 3/8 inches (25 to 35 mm) tall.
- Background: plain white or off-white, with no shadows, patterns or objects behind you.
- Recent and in color: taken in the last 6 months.
- Pose: facing the camera, full face, both eyes open, a neutral expression or a natural smile.
- No glasses. Take them off, even if you always wear them. Hats and head coverings are allowed only for religious or medical reasons, with a signed statement.
- No headphones, earbuds or uniforms.
- Sharp and unretouched: in focus, no filters, no beauty edits.
- Taken by someone else. The State Department doesn't accept selfies.
Other countries set their own rules. A UK passport photo, for example, is 35 x 45 mm on a plain cream or light grey background, so check your government's photo page before you start.
What you need
- A phone with a decent camera. Any phone from the last few years is fine.
- A helper to take the photo.
- A plain wall, white or as light as you can find. A door or a white sheet hung flat works too.
- Daylight from a window, or two lamps.
Step 1: Set up the light and the wall
Stand about 2 feet in front of the wall, facing a window. Light from the front fills your face evenly, and standing away from the wall keeps your shadow off it. Avoid a ceiling light straight above you, which puts dark shadows under the eyes and nose, and avoid direct sun, which makes you squint.
If one side of your face is darker than the other, turn a little toward the light or add a lamp on the darker side.
Step 2: Take the photo
- Your helper stands about 4 feet away with the phone at your eye level. Holding the phone close stretches the nose and shrinks the ears, so they should step back and zoom in a little instead.
- Turn the flash off. It causes glare on skin and red eyes.
- Frame your head and shoulders with space above the hair. You'll crop to size later, so don't fill the frame with your face.
- Look straight into the lens, keep your head level and your mouth closed or in a light smile.
- Take ten or more shots and keep the sharpest one with both eyes fully open.
Step 3: Make the background plain white
When your wall is plain white and evenly lit, skip this step. When the wall is grey, colored or has a shadow, the Make Background White tool turns it pure white:
- Open clarpex.ai/make-background-white and upload the photo.
- Pick Pure white. The soft shadow option is for product and social photos, not passports.
- Run it. It takes about a minute.
- Drag the slider over your hair, ears and shoulders to compare, then download the JPG.
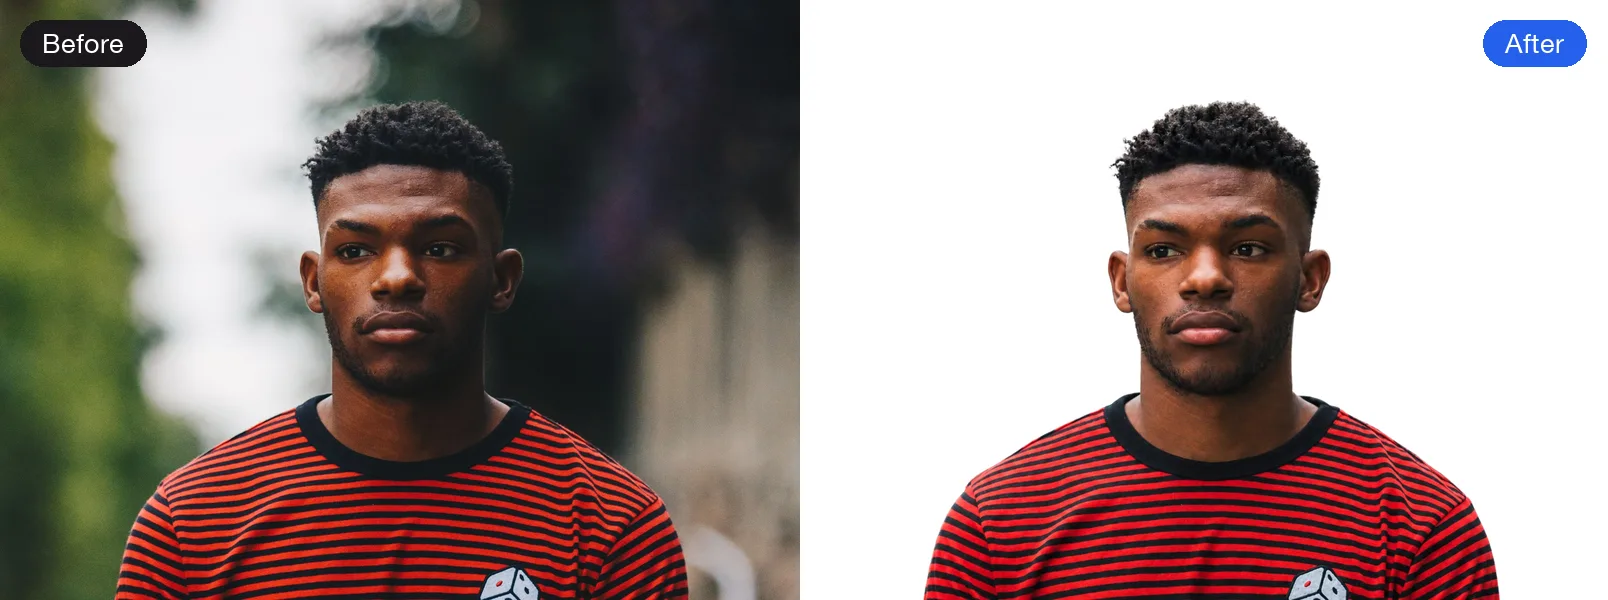
The tool changes the background, not your size or position in the frame. It can brighten the person slightly to suit the white backdrop. Compare your face and skin tone with the slider: if they look different from the original, use the original or retake the photo against a white wall. Passport photos must show you as you are, so never smooth skin, whiten teeth or change your eyes.
Step 4: Crop to 2 x 2 inches
The State Department's free Photo Tool crops a photo to the right size. It's meant for applications by mail or in person; don't use it for an online renewal.
- Choose the photo with the white background.
- Line up the eye markers with your eyes, or pick Crop Manually and set the box yourself.
- Accept the crop and download the image to your device.
Any photo editor can do the same if you'd rather crop by hand: make the image square and size it so the head takes up about half to two thirds of the height.
Step 5: Print it or upload it
For a paper application (DS-11 or DS-82): you need one photo. Put the 2 x 2 photo on a 4 x 6 inch canvas, which fits up to six copies, and order a regular 4 x 6 print at a drugstore or an online photo service. Choose matte or glossy photo paper, not plain paper from a home printer, and cut along the edges with a ruler.
For an online renewal: upload the digital photo instead of printing it. The online form checks the file and tells you if the size or framing is off.
Why passport photos get rejected
- Shadows on the face or on the wall behind you.
- Glasses, even clear ones, or glare from a flash.
- The head too small or too large for the 1 to 1 3/8 inch range.
- A tilted head or eyes looking away from the lens.
- A filter, retouching or heavy compression that blurs the face.
- A photo older than 6 months, or one that no longer looks like you.
Quick answers
Can I take my own passport photo at home? Yes. Have someone else take it, since selfies aren't accepted, then crop and print it yourself. You pay for a 4 x 6 print instead of a passport photo service.
Does the background have to be pure white? For a US passport it must be plain white or off-white with no shadow. Pure white is the safest choice. Other countries may ask for light grey or cream.
Can I change the background of my passport photo? You can make a busy or grey background plain white, as long as your face stays exactly as photographed. Check the result with the slider, and retake the photo against a white wall if anything about you looks different.
Can I smile in a passport photo? A natural smile is fine. Keep both eyes open and avoid a wide grin that shows a lot of teeth.
How much does it cost? Taking and cropping the photo is free. Making the background white runs on the 10 free credits everyone gets each day, without an account: one photo a day at 8 credits. A 4 x 6 print is the only other cost.
Try it on your own photo
Put a person or product on pure white, with or without a soft shadow.